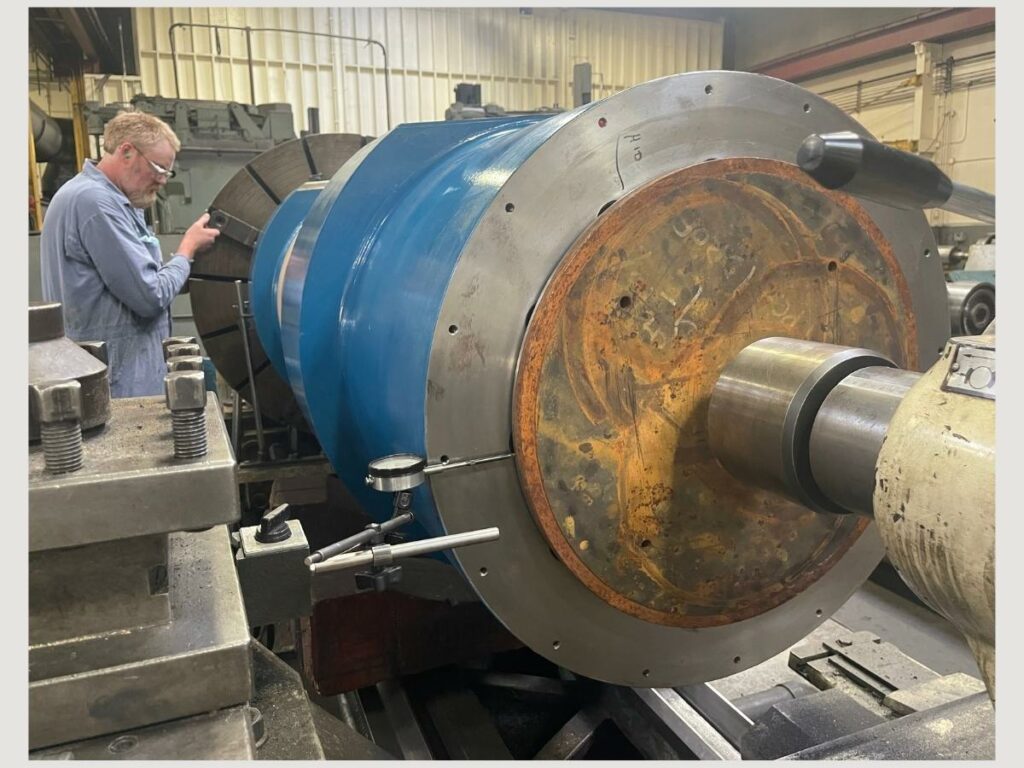
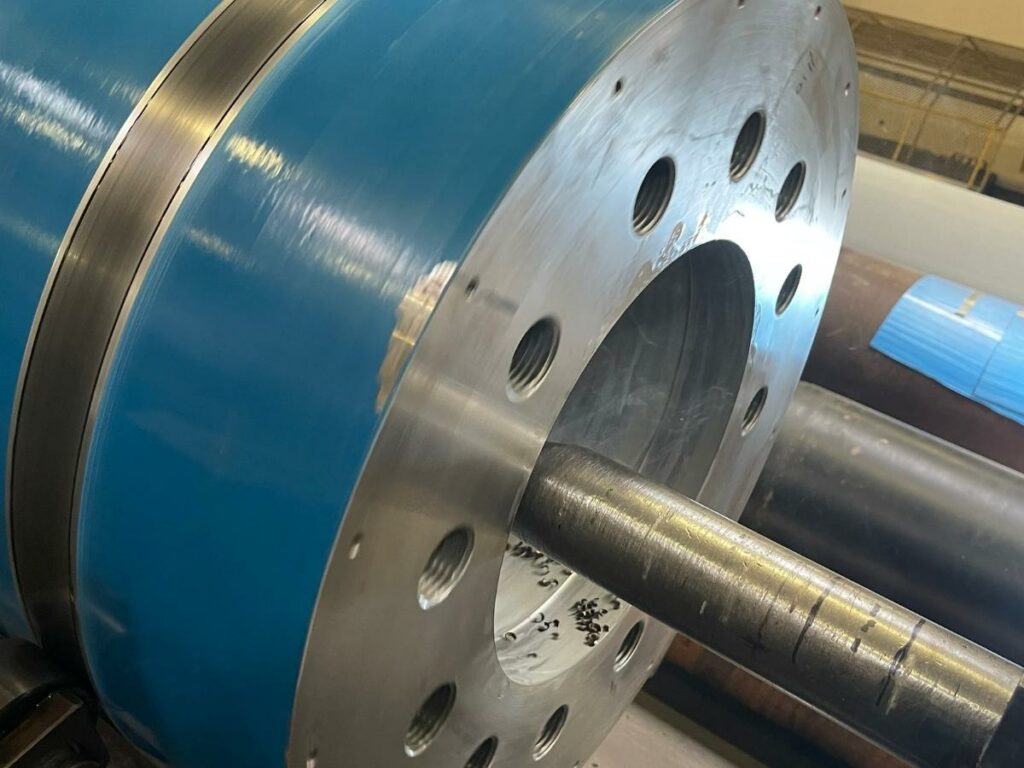
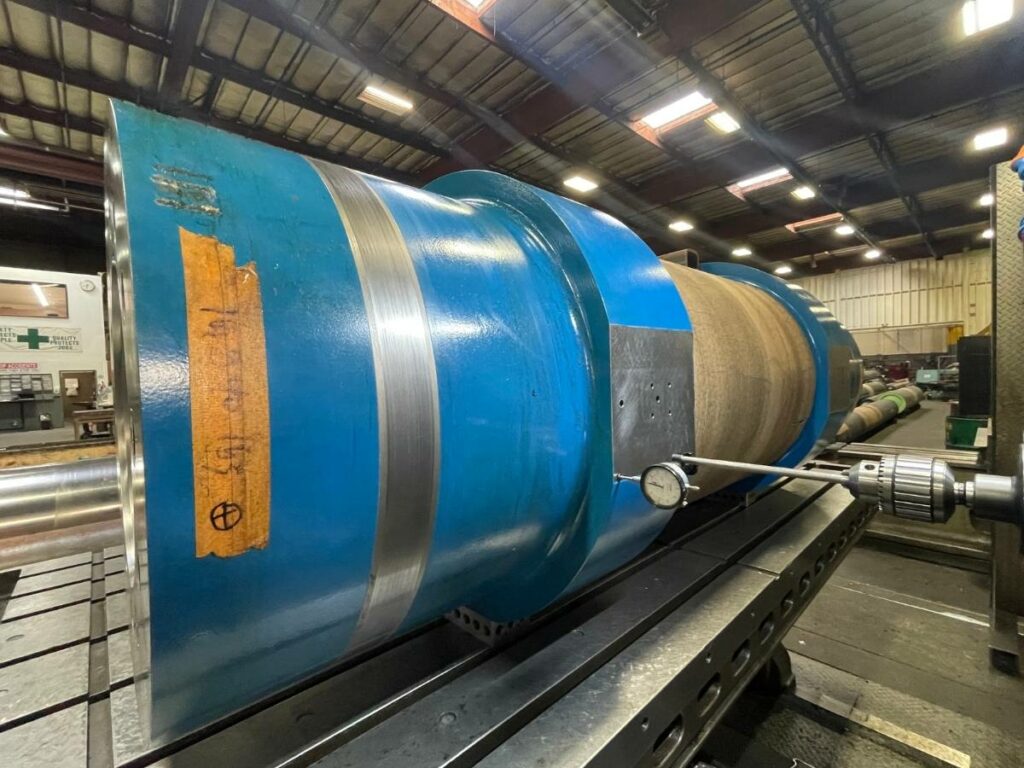
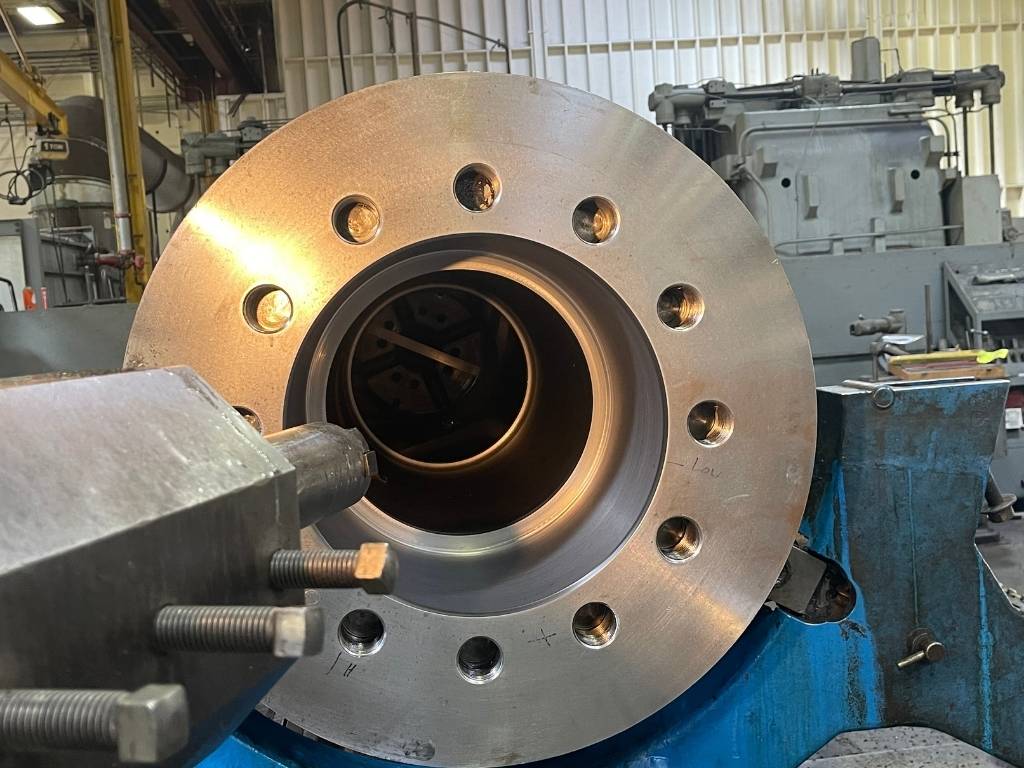
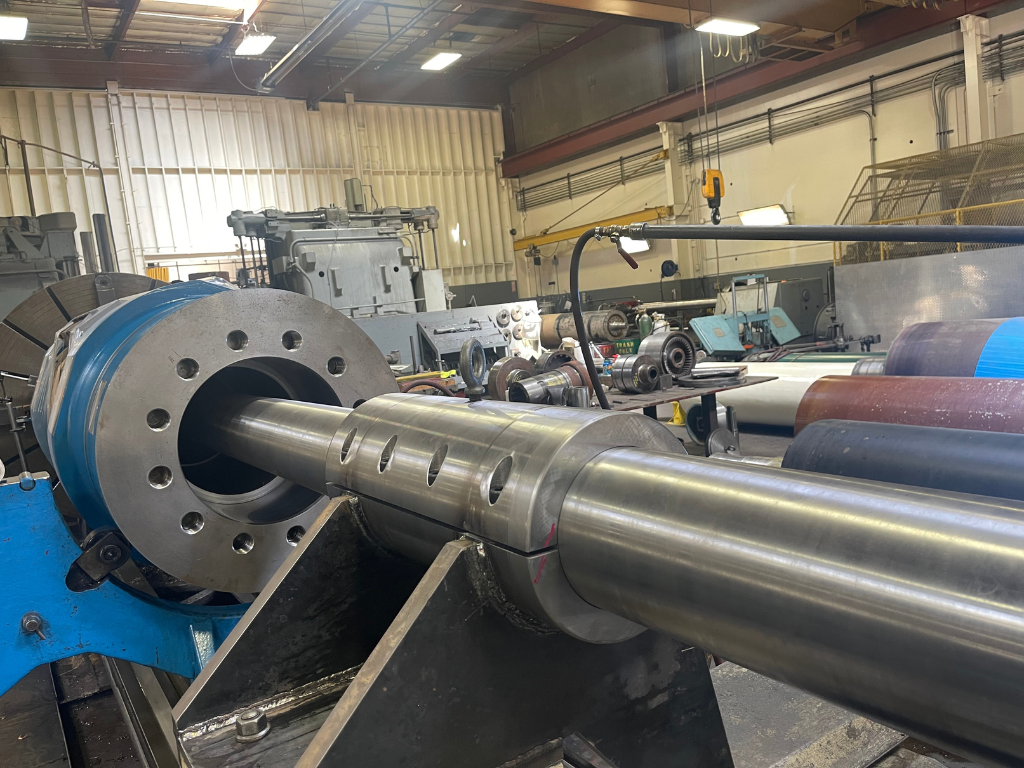
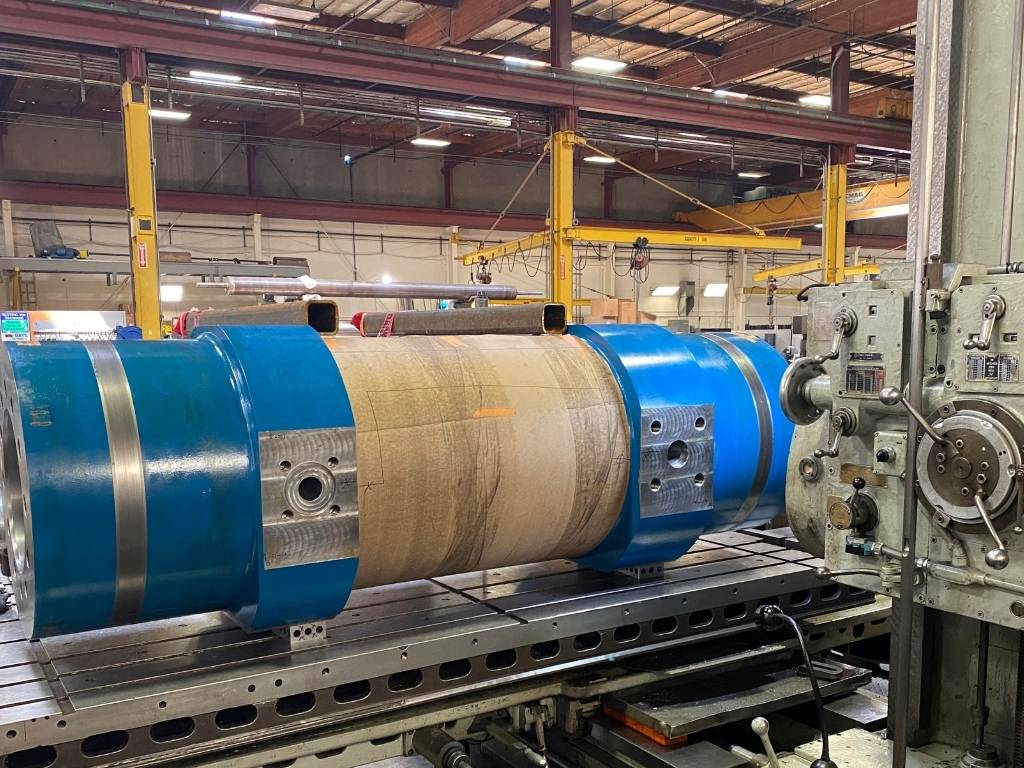
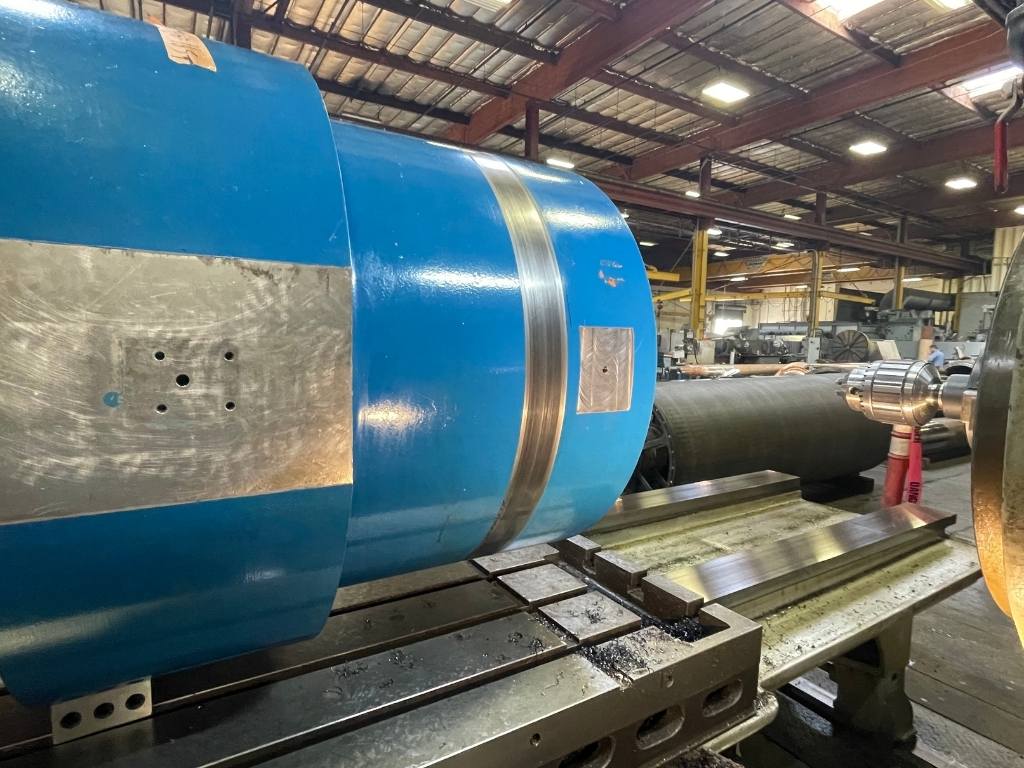
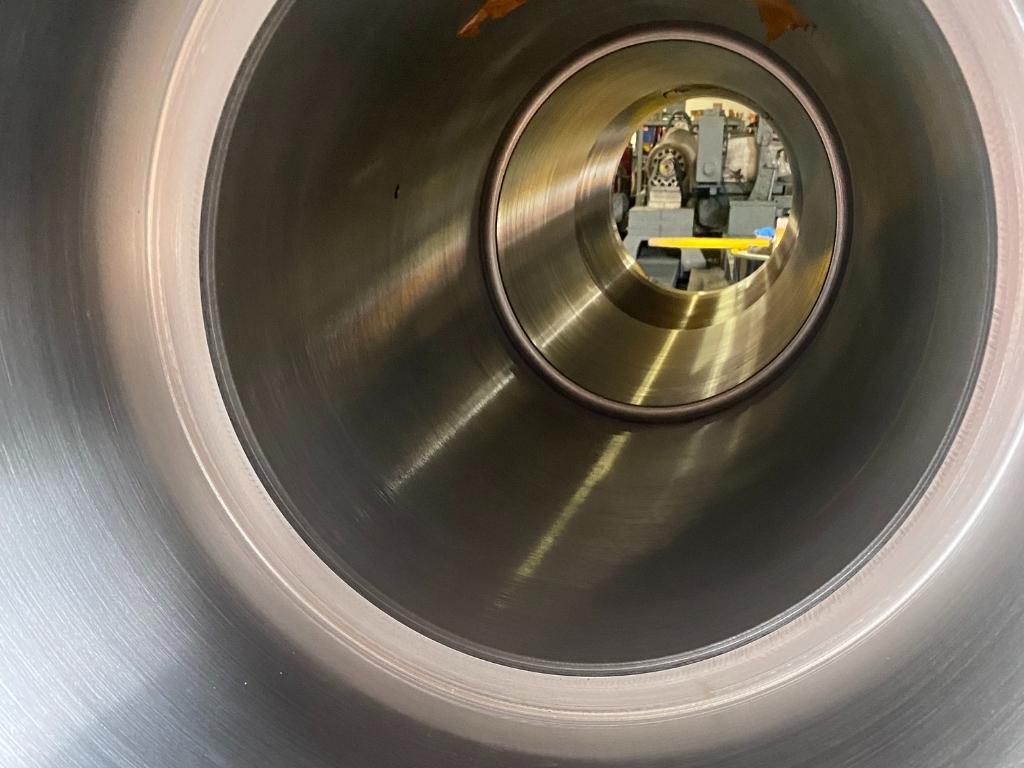
Our team precision machined this feed cylinder equipment to meet OEM specifications for enhanced performance and updated operating requirements. Interior dimensions were re-bored, flats were milled on each end of the cylinder, and tracker pin holes were added. All equipment modifications were completed within schedule and complied with CMM inspection.
- Part: Feed Cylinder
- Details: 29.53″ Dia. and 97.24″ Overall length
- Customer: Steel product manufacturer
Challenges:
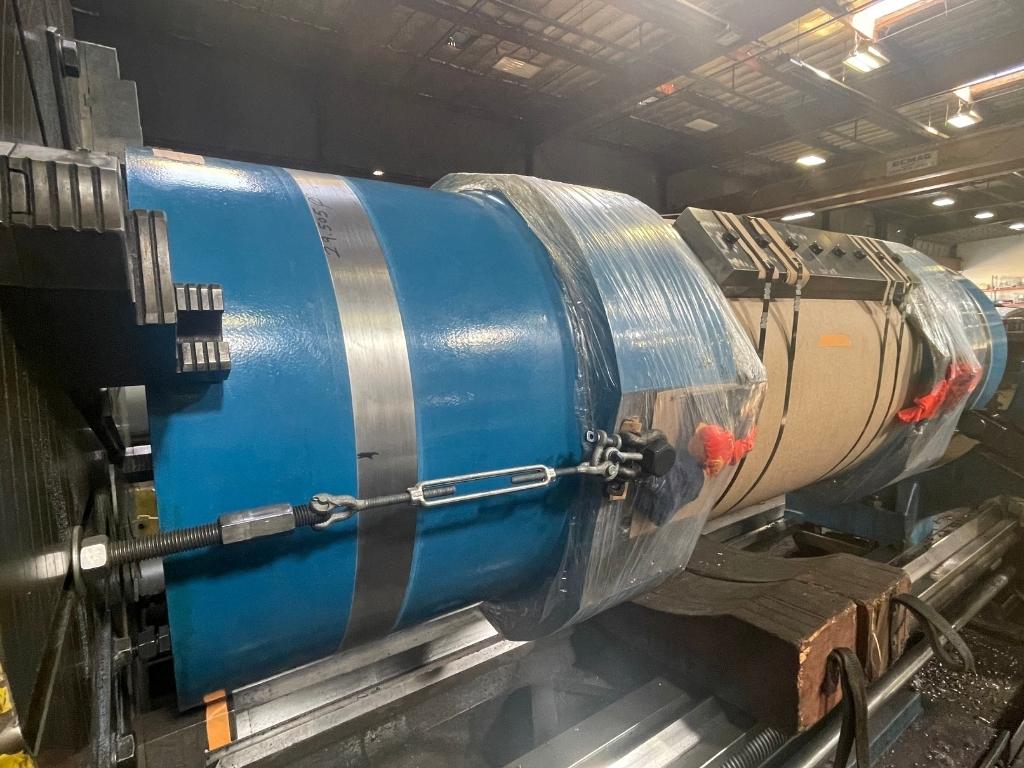
- Custom counterweight brackets were designed, fabricated, and installed to ensure safe machining.
- CMM (Coordinate Measuring Machine) inspection required. Accuracy, precision, and conformance to OEM specifications were of critical importance.
- Quick turnaround time required.
Engineered Solutions:
- Dimensionally inspect the cylinder. Compare dimensions on the provided OEM prints with actual measurements and record.
- Design, fabricate, and install custom mounting brackets on the cylinder with counterweights, to ensure safe and secure machining of the cylinder in the lathe.
- Re-bore the cylinder ID and match all dimensions on the OEM drawings provided by the customer.
- Precision machine flats on the ends of the cylinder and 10 mm reamed holes per print. Locations were extremely critical.
- CMM inspection of the finish machined to verify concentricity and locations of new milled flats and pin holes.
- Provide a complete report with locations of all critical fits.
- Transportation service to and from customer site.
Results:
- Precision machined and modified cylinder met CMM inspection points.
- Completed the project within the outage timeline.
